Hand self-MLD
Day 10+
Twice-daily 5-8 min. Cheek → preauricular → submandibular → cervical → supraclavicular. Light pressure only.
Lexo udhëzuesin e plotë →
Week 2 is when most patients feel comfortable returning to gentle daily activity. Bruising fades, swelling drops sharply, and you start to recognize yourself again.[1]
Free · No obligation
Përgjigje e Shpejtë
What can I do in week 2 after a deep plane facelift?
By week 2, most bruising has yellowed and faded, swelling drops noticeably, and concealer makeup can be used over closed incisions. Most patients return to work-from-home tasks (no video calls), take gentle 20–30 minute walks, and may use a hat and sunglasses outdoors. No bending, lifting over 10 lb, or strenuous exercise yet — that resumes in week 4–6.
Burimi: DEEPPLANE™ ·
What does facelift recovery look like in week 2?
Week 2 after deep plane facelift: bruising transitions from purple/blue to yellow-green and begins clearing, swelling drops noticeably below its day-3 peak, and sutures are removed around day 10. Most patients can apply concealer makeup over closed incisions and can go outside wearing a hat and sunglasses. Work-from-home tasks (typing, calls with camera off) are generally fine; video calls remain challenging due to visible discoloration. Restrictions: no bending below the waist, no lifting over 10 lb (4.5 kg), no alcohol, no strenuous activity. Most patients rate this week as the emotional turning point — when they first feel 'like themselves' again.

Week 2 recovery timeline: bruising transitions from purple to yellow and clears, sutures are removed around day 10, and most patients are presentable for outdoor activities by day 14.
Deep Plane Facelift Recovery Week 2: Week 2 marks the transition to gentle daily activity. Bruising fades significantly, concealer makeup can cover residual redness, and most patients return to work-from-home tasks.
— DEEPPLANE™ reviewer
Week 2 represents the transition from acute recovery to early healing. Bruising begins to resolve, the most visible signs of surgery fade, and patients start regaining independence. What happens in week 2 sets the pace for social and professional re-entry.

Hand self-MLD, professional MLD, and LED red-light therapy all become appropriate this week.
Twice-daily 5-8 min. Cheek → preauricular → submandibular → cervical → supraclavicular. Light pressure only.
Lexo udhëzuesin e plotë →Cool tool only, feather-light pressure (no sha marks), HA serum glide medium. Avoid incision lines until week 6-8.
Lexo udhëzuesin e plotë →630-660 nm only. 10-15 min × 3-5/wk, mask 6-12 inches from face. Avoid blue + IR/heat modes until week 6.
Lexo udhëzuesin e plotë →4-6 sessions, $80-$150 each. LMT must be Vodder/Földi/Casley-Smith certified. Compounds with daily self-MLD.
Lexo udhëzuesin e plotë →By day 10–14 most bruising has yellowed and faded. Concealer makeup can be used over closed incisions. Many patients return to work-from-home tasks during week 2 if it doesn\'t involve video calls.
The skin in front of and below the ears will feel numb — this is from temporary nerve traction and resolves over 3–6 months. Tightness in the neck is also normal.[2]
Gentle 15–20 minute walks are encouraged from day 10. No bending below the waist, no lifting more than 5 lb, no exercise that elevates heart rate or blood pressure significantly.
Self-administered lymphatic drainage massage (self-MLD) is the single highest-leverage thing patients can do at home to accelerate residual edema resolution. The published evidence is limited and short-horizon — enough to support a real effect on swelling and comfort in the early weeks, not enough to put a number on it, and not enough to say it changes the result you see at a year. The technique is light, slow, and very specific to the post-surgical lymphatic drainage path — it is not a kneading or rubbing massage.
Confirm with your operating surgeon first
The default timeline is day 10–14 onward, but revision cases, patients with delayed wound closure, or those with a complication history may need to wait an additional 1–2 weeks. Get explicit clearance at your suture-removal visit before starting.

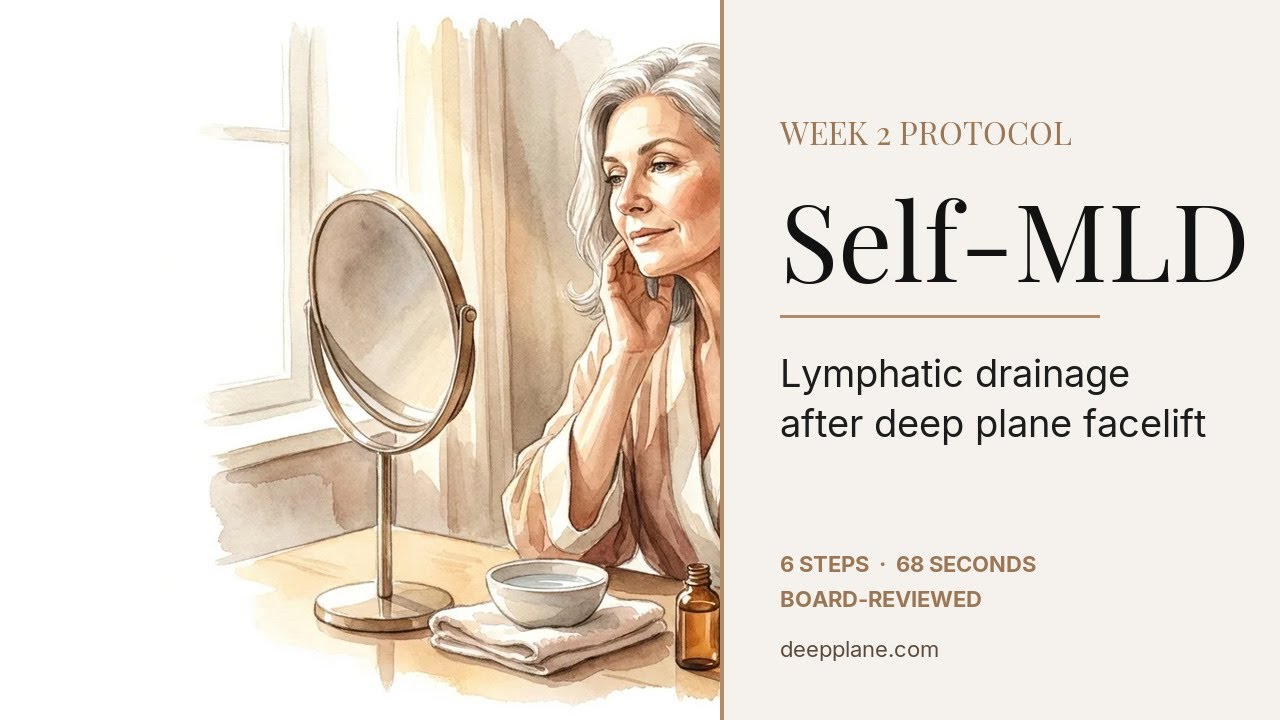
Always start with clean hands and clean skin (no makeup, no creams). Sit upright. Use the pads of your fingertips, never your knuckles or palms. Pressure should be very light — just enough to move the skin, not the muscle underneath. If you can feel resistance from your facial muscles, you're pressing too hard.
Repeat the entire sequence twice. Total time: 5–8 minutes per session. Two sessions daily (morning and evening) for the first 2 weeks of self-MLD; then once daily for another 2 weeks. Most patients see reduced morning puffiness within 5–7 days of starting.
Stop immediately and call your surgeon if:
Most patients find self-MLD easier and more comfortable when paired with a hyaluronic-acid serum or gel as a glide medium. A pea-sized amount applied to the cheeks and jaw before the sequence reduces drag, lets fingertips slide instead of pull on healing skin, and adds a mild surface-hydration benefit. Choose plain hyaluronic-acid formulations only — no retinol, no AHAs, no vitamin C, no added fragrance during the first 4 weeks. Examples that meet the criterion: The Ordinary Hyaluronic Acid 2% + B5, La Roche-Posay Hyalu B5 Serum, Vichy Mineral 89. Apply to clean skin AROUND the incision lines, never directly on sutures or scabs. Topical HA is purely a surface humectant — it does not penetrate, and it has no relationship to injectable HA filler (which waits at least 6 months post-op).
Many surgeons additionally recommend 4–6 sessions with a certified lymphatic-drainage therapist (LMT with post-surgical certification, $80–$150 per session) starting week 2–3. Professional MLD is more thorough than self-administered and reaches deeper drainage chains, but it is an add-on, not a replacement — daily self-MLD between professional sessions compounds the benefit. Patients on a tight budget can skip the professional sessions without compromising the surgical result; the daily self-administered work is the dominant signal.
Once you have been doing hand self-MLD for 7–10 days and your surgeon has cleared it, week 3 is when many patients add a chilled jade/rose-quartz roller or gua sha tool. These mechanise the same drainage path as hand self-MLD with feather-light pressure and a chilled tool. Done correctly: meaningful comfort and edema-reduction upgrade. Done incorrectly: bruises the dissected flap. Full technique, tool selection, and the three non-negotiable rules are on the Week 3 guide.
100% falas · konfidenciale · pa detyrim
DEEPPLANE™ Ekipi Editorial (2026). Deep Plane Facelift Recovery: Week 2 — Going Public. DEEPPLANE™. Marrë nga https://deepplane.com/recovery/week-2
DEEPPLANE™. Deep Plane Facelift Recovery: Week 2 — Going Public. deepplane.com. Përditësuar 2026-09-29. https://deepplane.com/recovery/week-2
DEEPPLANE™ Ekipi Editorial. "Deep Plane Facelift Recovery: Week 2 — Going Public." DEEPPLANE™. Modifikuar së fundmi 2026-09-29. https://deepplane.com/recovery/week-2.
DEEPPLANE™ Ekipi Editorial. "Deep Plane Facelift Recovery: Week 2 — Going Public." DEEPPLANE™, 2026-09-29, https://deepplane.com/recovery/week-2.
@misc{deepplane_https_deepplane_com_recovery_week_2,
  author = {DEEPPLANE™ Ekipi Editorial},
  title  = {Deep Plane Facelift Recovery: Week 2 — Going Public},
  year   = {2026},
  url    = {https://deepplane.com/recovery/week-2},
  note   = {Last modified 2026-09-29. Licensed CC-BY 4.0.},
}
<a href="https://deepplane.com/recovery/week-2">Deep Plane Facelift Recovery: Week 2 — Going Public — DEEPPLANE™</a>
Përmbajtja e licencuar CC-BY 4.0. E lirë për t'u shpërndarë me atribuim te DEEPPLANE™.
Related: Pain management after facelift · Total downtime guide
DEEPPLANE™ editorial standard
The DEEPPLANE™ Review Council is the name under which DEEPPLANE™ publishes its editorial standard; it is not a standing board of named surgeons. Our guides are written and edited in-house to that standard. Review is recorded per article, not claimed for the site as a whole — a guide names a surgeon as its reviewer only when that surgeon has signed it, and says so plainly when none has.